Installing Grav CMS on AWS EC2 Running Ubuntu 20.04
January 25, 2022
Background
Grav is an OpenSource flat file CMS. It allows for the managing of posts wihtout the overhead of a database server as posts are stored as single files, processed and cached for consumption.
In this post, I'll be guiding you through setting up your own blog similar to mine.
The server being used in this post is an AWS Provisioned EC2 running Ubuntu 20.04 but these instructions should work for non-AWS installations aswell.
Updating the package manager
sudo apt update
sudo apt upgrade
Installing and configuring the apache2 webserver
sudo apt install apache2
sudo a2enmod rewrite
sudo a2enmod ssl
Allowing grav to override apache2
sudo sed -i '/<Directory \/var\/www\/>/,/<\/Directory>/ s/AllowOverride None/AllowOverride All/' /etc/apache2/apache2.confAlternatively you can run sudo nano /etc/apache2/apache2.conf, use the arrow keys to scroll down the the virtual directory entry for /var/www/ and change the line 'AllowOverride None' to 'Allow Override All'
Restart the apache2 service to apply our configuration
sudo systemctl restart apache2Confirm your apache installation by browsing to port 80 on your server by navigating to http://[your domain here] or http://[your ip here] in your browser.

If you see this page then apache has been successfully installed and configured and you are ready to install PHP.
Installing PHP
The following command will install the latest version of php and the additional modules necessary to run grav.
sudo apt install php php-curl php-ctype php-mbstring php-xml php-simplexml php-zip php-apcu php-opcache php-yaml php-gdConfirm your PHP installation by running echo "<?php phpinfo(); ?>" | sudo tee /var/www/html/phpinfo.php and requesting the newly created file by navigating to http://[your domain here]/phpinfo.php or http://[your ip here]/phpinfo.php in yur browser.
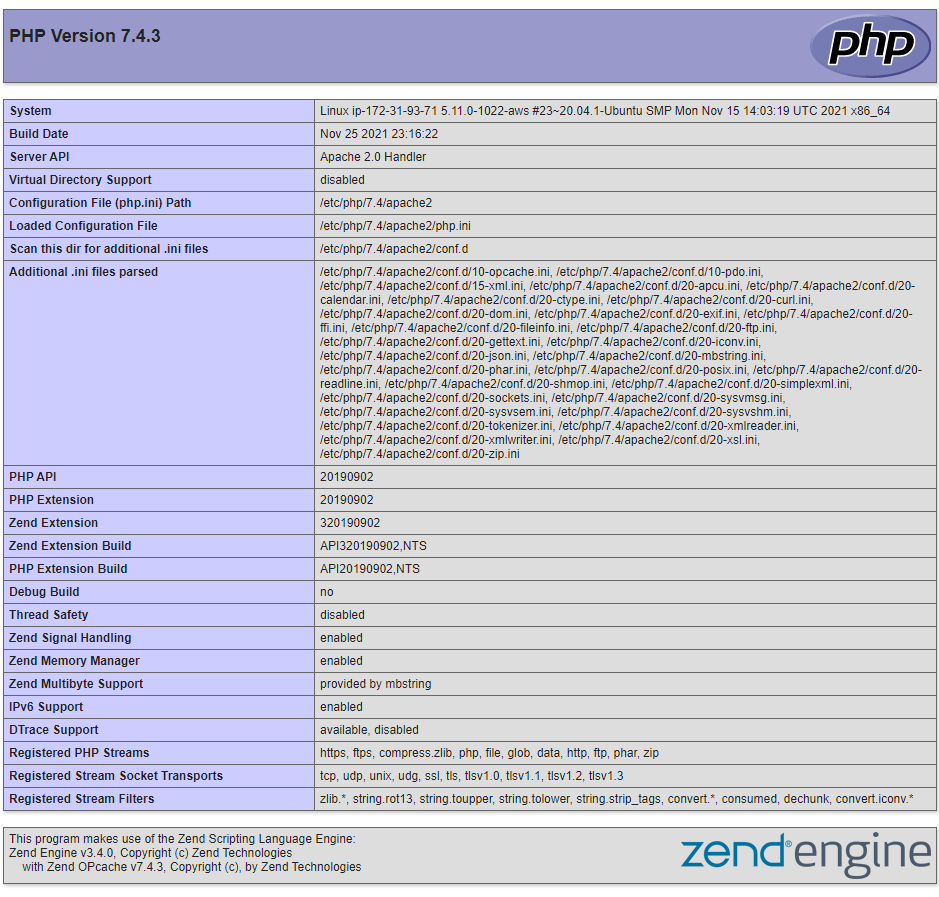
If you see this page then PHP has been successfully installed and configured and you are ready to install Grav.
Remove the phpinfo.php file.
sudo rm /var/www/html/phpinfo.phpInstalling Grav
Run the following commands in order to install Grav. At the time of creating this post the latest version of Grav is version 1.7.25. No need to change the version in the download step as we will be upgrading to the latest version of grav later in the guide as a means of testing our installation.
sudo apt install unzip
cd ~
wget https://getgrav.org/download/core/grav/1.7.25 -O grav.zip
unzip grav.zip
sudo mv grav/* /var/www/html
sudo mv grav/.* /var/www/html
Confirming installation
cd /var/www/html
sudo bin/gpm selfupgrade -f
sudo bin/gpm install admin
Setting Grav file permissions
cd /var/www/html
sudo chown -R www-data:www-data .
sudo find . -type f | sudo xargs chmod 664
sudo find ./bin -type f | sudo xargs chmod 775
sudo find ./bin -type f | sudo xargs chmod 775
sudo find . -type d | sudo xargs chmod +s
Navigate to your site.
If you are greeted with the following error page
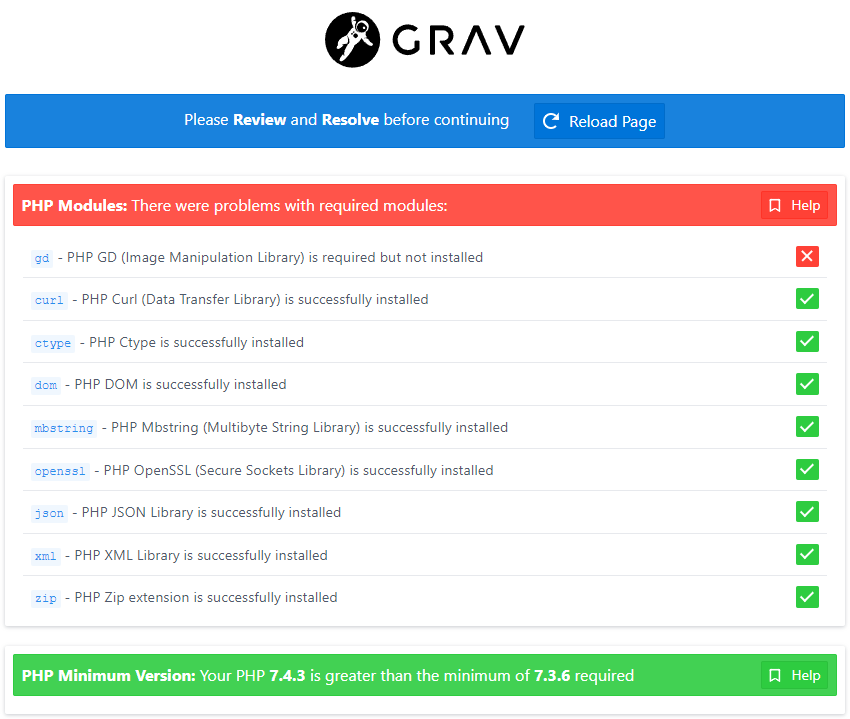
Try restarting apace with sudo systemctl restart apache2 and reload.
If this page persists, install any missing php modules with sudo apt install php-, restart apache with sudo systemctl restart apache2 and reload your page.
After running these commands, your setup should be complete. Navigate to your site in the browser and you should now be greeted with the grav admin setup screen.
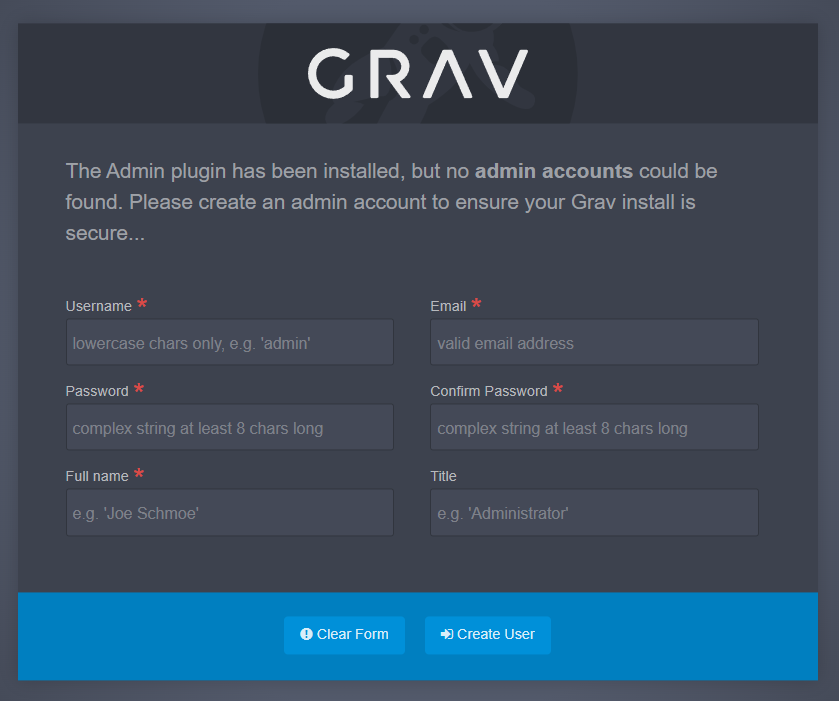
Create your admin account, login and happy blogging.